How to Deburr Plastic and Rubber Parts: Mass Finishing, Media, and Process Limits
Jul 16 , 2026
Plastic and Rubber Part Finishing Guide
How to Deburr Plastic and Rubber Parts: Mass Finishing, Media, and Process Limits
Flash, gate marks, machining burrs, and rough build lines do not all respond to the same finishing method. This guide explains when mass finishing is a practical option for plastic and rubber parts, how to select equipment and media, and when trimming, blasting, or cryogenic deflashing is the safer route.
Plastic and rubber components can leave the mold, machining center, or additive manufacturing process with several different defects. A thin parting-line flash may break away easily, while a heavy gate vestige may need controlled cutting. A flexible rubber lip can bend away from abrasive media instead of being removed. Transparent or highly cosmetic plastic parts may lose clarity before the unwanted edge is gone.
For that reason, equipment selection should not begin with the question, “Which machine removes plastic flash?” It should begin with the material, defect, geometry, tolerance, surface requirement, and acceptable contact between parts. Mass finishing can process many components efficiently, but only after a small trial confirms that the defect is removable without rounding functional features, lodging media, or creating haze.
Quick answer: Mass finishing is most suitable for small and medium plastic or rubber parts with light flash, fine machining burrs, rough build lines, or surfaces that need controlled smoothing. Heavy gates, very soft flexible flash, critical sealing lips, deep internal features, and highly sensitive optical surfaces may require trimming, blasting, cryogenic deflashing, or a combined process instead.
First Identify What Must Be Removed
The word “burr” is often used for several different conditions. Correctly naming the defect prevents an aggressive process from being applied to the wrong problem.
Defect
Typical Origin
Mass Finishing Potential
Main Risk
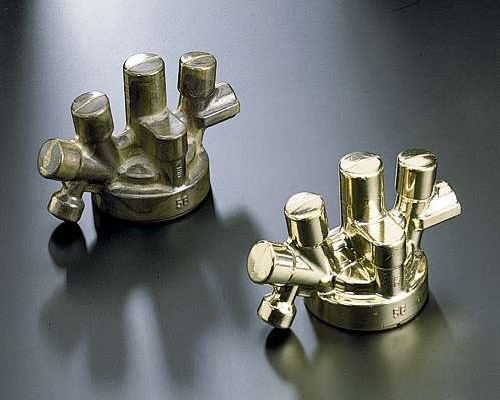
Thin parting-line flash
Injection, compression, or transfer molding
Often suitable when the flash is thin enough to break away
Flexible flash may fold instead of cutting
Gate vestige
Runner or gate separation
Suitable only for small residual marks after primary gate removal
Long cycles can dish or round the surrounding surface
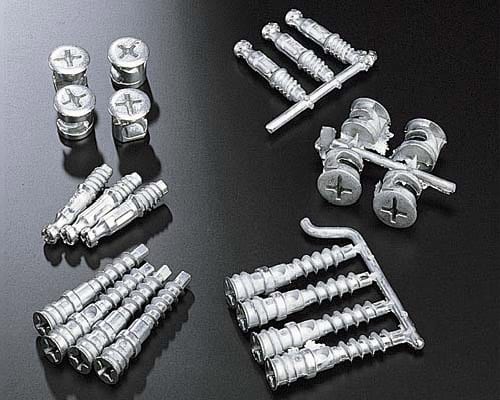
Machining burr
Drilling, milling, turning, or routing engineering plastics
Good candidate when edges are accessible to media
Critical holes, threads, and sealing edges may change
Layer or support mark
FDM, SLA, SLS, or other additive processes
Useful for controlled smoothing after supports are removed
Fine details and thin walls can be softened
Rubber molding flash
O-rings, seals, gaskets, and molded elastomer parts
Possible when the flash becomes brittle or can be mechanically separated
Functional lips and soft edges can deform or remain unfinished
When Mass Finishing Is a Good Fit
A vibratory, barrel, or centrifugal process is most useful when many parts can move freely with media and the unwanted material is smaller or weaker than the features that must remain. Suitable jobs commonly share these characteristics:
Parts are small enough to process as a controlled batch.
The burr or flash is light and accessible from the outside.
Media contact is acceptable on the visible and functional surfaces.
Edges may be lightly rounded without changing assembly performance.
Parts can be separated from the media without lodging or manual picking.
The process target is repeatable deburring, smoothing, cleaning, or preparation for a later coating or polishing step.
Engineering plastics such as ABS, nylon, acetal, polycarbonate, and PEEK can behave very differently even when the parts have similar geometry. Resin grade, fillers, moisture, wall thickness, molded stress, and starting surface all affect the result. The material name alone is not enough to define a recipe.
When Another Deflashing Method Is Safer
Mass finishing should not be forced onto every molded part. Use another primary removal method, or combine processes, when one of the following conditions is present:
Heavy gates or runners: clip, trim, mill, or cut the bulk material before surface finishing.
Very soft flash: flexible elastomer flash may require cryogenic deflashing or another process that makes the excess material easier to separate.
Critical sealing lips: O-rings, diaphragms, and seals require validation of profile, dimensions, and leakage performance after processing.
Deep blind features: media cannot remove material it cannot contact, and trapped media may create a larger production problem.
Optical or transparent surfaces: haze and fine scratches may appear before the defect is removed. A dedicated, staged process is required.
Very thin or flexible parts: parts may overlap, nest, or distort instead of moving independently.
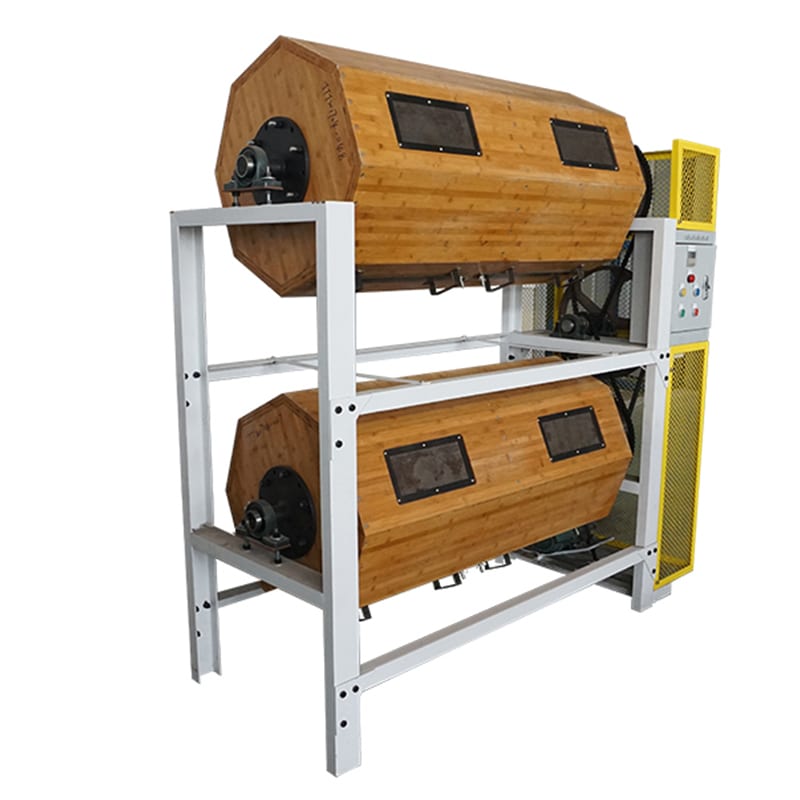
Choose the Machine by Part Behavior
Process
Useful For
What to Validate
Vibratory bowl
General batch deburring and smoothing of small molded or machined parts
Part circulation, part-on-part contact, separation screen, and media lodging
Vibratory tub
Long, flat, or awkward parts that do not circulate well in a bowl
Part orientation, chamber dividers, and contact between long parts
Barrel finishing
Gentler rolling action and staged dry or wet polishing
Cycle time, loading density, heat, and uniform exposure
Centrifugal disc
Shorter, higher-energy cycles for robust small parts
Impact, edge loss, heat generation, and part entanglement
For a broader comparison of bowl, tub, capacity, and workflow decisions, see our vibratory finishing machine selection guide. The same geometry-first method applies, but plastic and rubber parts generally require stricter control of heat, contact, and dimensional change.
Media Selection: Gentle Does Not Mean Ineffective
Media must be aggressive enough to act on the defect while remaining safe for the base material. Lower-density plastic finishing media is often evaluated for damage-sensitive parts because it can provide controlled cutting with less impact than dense ceramic media. Shape is as important as material: cones, pyramids, triangles, cylinders, and specialty shapes contact edges differently and separate differently from holes and slots.
Never select media only from the outside dimensions of the part. Measure through-holes, blind holes, slots, lens grooves, undercuts, and gaps between ribs. A media shape that can enter a feature may rotate and lock inside it. The safest starting point is a lodging test with a small sample of every part variant.
The compound or process liquid also affects lubrication, cleaning, heat control, foam, residue, and how removed material leaves the working chamber. Transparent and cosmetic parts should be inspected after washing and drying, not only while wet, because water can temporarily hide fine scratches or haze.
Rubber sealing parts require more than a visual check. After deflashing, inspect the sealing profile, dimensions, surface damage, and functional performance.
A Safe Process Development Workflow
Define the defect. Record flash thickness, gate height, burr location, surface marks, and any features that must remain sharp.
Record the material. Include the exact resin or elastomer grade, fillers, hardness where relevant, color, and whether the part is transparent or plated later.
Remove bulk material first. Do not use a long finishing cycle to replace gate cutting or heavy trimming.
Perform a media lodging test. Check every hole, slot, groove, undercut, and nested geometry before running a full batch.
Start with a small controlled load. Keep reference parts from the untreated batch and change one variable at a time.
Inspect at short intervals. Track defect removal, edge radius, dimensions, gloss, color, temperature, and new contact marks.
Validate separation and cleaning. Confirm that media, dust, compound, and loose flash can be removed consistently.
Repeat the approved recipe. Validate more than one batch before scaling to production volume.
Common Problems and Corrective Direction
Observed Result
Likely Direction to Check
Flash bends but remains attached
The flash may be too flexible for the current mechanical action; compare trimming, blasting, or cryogenic deflashing.
Edges round before the gate mark disappears
Remove more of the gate before finishing, shorten the cycle, or reduce media aggressiveness.
White haze or fine scratches appear
Check media condition, contamination, dry friction, heat, compound, and part-on-part contact.
Parts stick, nest, or finish unevenly
Reduce loading density, change media-to-part volume, use dividers, or select a different chamber motion.
Media remains in holes or grooves
Change media size or shape and repeat the lodging test before production.
If a batch develops scratches, residue, dents, or uneven results, use a controlled one-variable method rather than increasing time immediately. Our vibratory finishing troubleshooting guide provides a structured diagnostic workflow.
Information to Send for a Process Trial
A useful process recommendation requires more than a part photo. Send the following information with representative untreated samples whenever possible:
Exact material or resin/elastomer grade and any fillers;
Part dimensions, weight, wall thickness, and critical tolerances;
Close-up photos of flash, gates, burrs, layer lines, and protected features;
Current removal method and the reason it must be improved;
Target edge, surface appearance, cleanliness, and downstream process;
Batch quantity, daily volume, acceptable cycle time, and separation method;
Inspection method, especially for sealing, optical, mating, or plated surfaces.
Frequently Asked Questions
Can vibratory finishing remove injection molding flash?
It can remove light, accessible flash from suitable materials and geometries. Heavy gates should be removed first, and flexible flash may need a different method. A sample trial is necessary.
Can rubber O-rings be deflashed in a mass finishing machine?
Some rubber parts can be mechanically deflashed, but soft flash and functional sealing profiles require special care. Cryogenic deflashing may be more appropriate for certain elastomers. Always validate dimensions and sealing performance after processing.
Which media is safest for plastic parts?
There is no universal safest media. The correct choice depends on resin grade, defect, surface requirement, geometry, and the risk of media lodging. Lower-density plastic media is often evaluated first for damage-sensitive parts, but only testing can confirm the result.
Why do transparent plastic parts become cloudy after finishing?
Common causes include aggressive media, contaminated media, excessive friction or heat, part-on-part contact, residue, and an unsuitable drying method. See our guide to polishing acrylic parts without haze or edge burn.
Should the full production batch be tested first?
No. Begin with representative samples and keep untreated references. Confirm defect removal, dimensional stability, appearance, cleaning, separation, and functional performance before increasing the load.
Related Equipment and Process Resources
Vibratory Finishing Machines Barrel Finishing Machines Disc Finishing Machines Plastic Finishing Media Pre-Polishing Media for Plastic
Test the Part Before Selecting the Process
Send your material grade, part photos, dimensions, defect close-ups, protected features, target finish, and batch quantity. Our team can help compare mass finishing with other deflashing routes and define a controlled sample test.
Request a plastic or rubber part finishing trial →


 IPv6 network supported


 +86-592-2381506