How to Separate Small Parts from Tumbling Media: Screens, Size Control, and Process Design
May 26 , 2026
Production Separation Guide
How to Separate Small Parts from Tumbling Media: Screens, Size Control, and Process Design
A finishing cycle is not production-ready until parts can be separated from media repeatedly. This guide explains how part geometry, media wear, screen design, orientation, and external separation methods affect labor, carryover, and the risk of trapped media.
Part-media separation is often considered after the finishing result has already been approved. That sequence can create a difficult compromise: the selected media reaches the required edges and recesses, but parts cannot pass through the machine's screen, media remains inside holes, or operators must inspect every piece manually.
A better process treats separation as a design requirement from the first sample test. The correct solution depends on the smallest and largest part dimensions, every hole and slot, the media's full dimensional range, how the media wears, whether parts overlap or nest, and the throughput expected after the finishing cycle.
Quick answer: Test the complete range of new and worn media against every part feature, then validate separation with the real batch load. Use a screen opening and motion that allow one material to pass while the other travels to a separate discharge. When dimensions overlap, add orientation control or a different physical separation method instead of relying on manual picking as the normal production process.
Start with a Separation Map
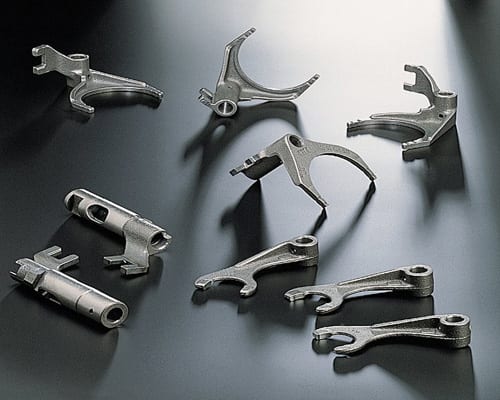
Record dimensions that influence both lodging and screening. Nominal part length and media size are not enough. A triangular media piece, for example, can present different thicknesses depending on orientation. A cylindrical part may roll lengthwise across a screen but stand or bridge when it approaches at another angle.
Part envelope: minimum thickness, maximum length, width, diagonal, protrusions, and flexible features.
Open features: through-holes, blind holes, counterbores, slots, threads, grooves, forks, and gaps between ribs.
Media range: actual new-media dimensions, shape variation, broken pieces, and the smallest approved worn-media condition.
Interaction risks: wedging, nesting, overlapping, hooking, magnetic attraction, and part-on-part contact.
Production requirement: batch weight, parts per batch, allowable residual media, inspection method, and acceptable manual handling.
Do not assume a universal media-to-feature ratio guarantees separation. The usable margin depends on shape, orientation, wear, machine motion, and manufacturing variation. Test the worst-case combination instead of relying only on catalog dimensions.
Choose the Separation Principle
Method
Best Fit
Main Validation Point
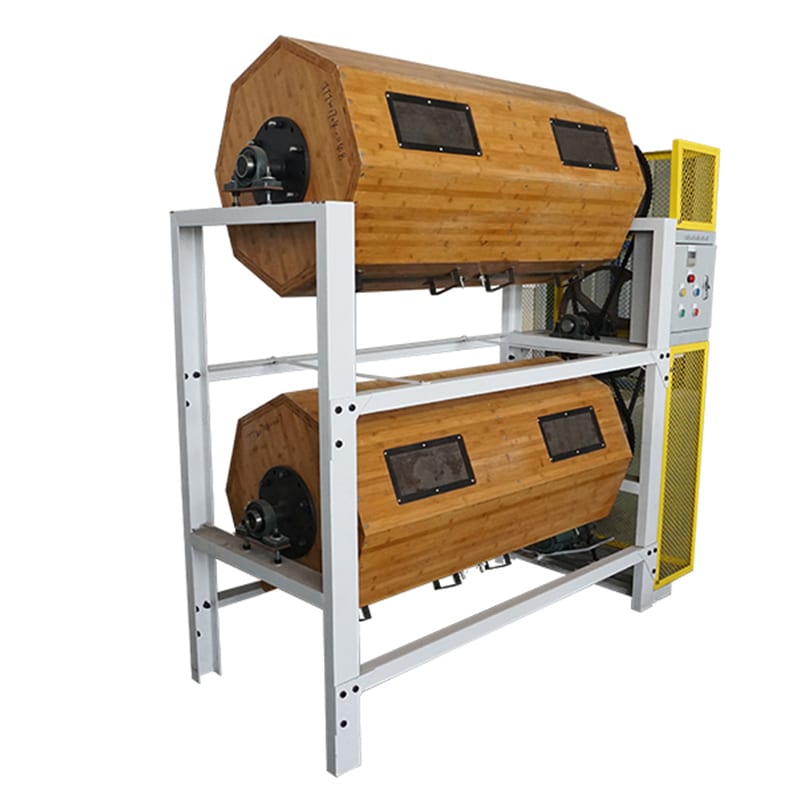
Internal screen deck
Routine bowl discharge where part and media dimensions are clearly different
Orientation, screen loading, residence time, and part damage during discharge
External vibratory or rotary screen
Processes needing longer screening time, multiple decks, or independent adjustment
Transfer control, screen blinding, throughput, and collection of undersize fragments
Magnetic separation
A validated magnetic difference between the selected media and parts
Actual alloy response, retained pins, cross-contamination, and demagnetization needs
Density or float separation
Specific part-media combinations with reliably different behavior in an approved liquid
Wetting, trapped air, chemistry compatibility, cleaning, and wastewater handling
Manual or vision-assisted inspection
Low-volume validation, complex parts, or a final safety check
Repeatability, inspection coverage, fatigue, takt time, and documented acceptance
Screen Opening Is Only One Variable
A screen must create a reliable dimensional window, but separation also depends on how material reaches the opening. Parts may bridge across slots, ride on top of media, or approach in an orientation that prevents passage. Media can blind the screen when fines, foam, oil, or high loading reduce movement.
Opening geometry: round holes, slots, bars, and perforated plates orient parts differently.
Deck angle and motion: control travel speed, presentation, and how many opportunities each item has to pass.
Feed depth: a deep mixed bed can carry parts across the screen without exposing them to the opening.
Surface condition: wet chemistry, oil, foam, fines, and static can change movement.
Discharge transition: steps, gaps, and sharp edges can trap parts or create marks after finishing is complete.
Run the screen with the intended production mixture, not a few clean parts placed by hand. Record parts per minute, residual media, incorrectly separated parts, rework, and operator intervention. A screen that works for a demonstration may not remain reliable at production bed depth.
Account for Media Wear and Breakage
Media dimensions change throughout service. Cutting media gradually becomes smaller and more rounded; broken fragments may be much smaller than the approved nominal size. This affects cutting performance, access to part features, lodging risk, and screen separation at the same time.
Define a media control plan that includes inspection frequency, removal of undersize pieces, replacement criteria, and how new media is blended into the working charge. Screen the media itself when necessary. If a worn piece can enter a critical hole or cross the separation opening, the process is no longer controlled even if the average media size appears acceptable.
Compare the behavior of ceramic media, plastic media, and steel finishing media using the actual part. Density, wear mode, shape retention, and magnetic response all influence the separation system.
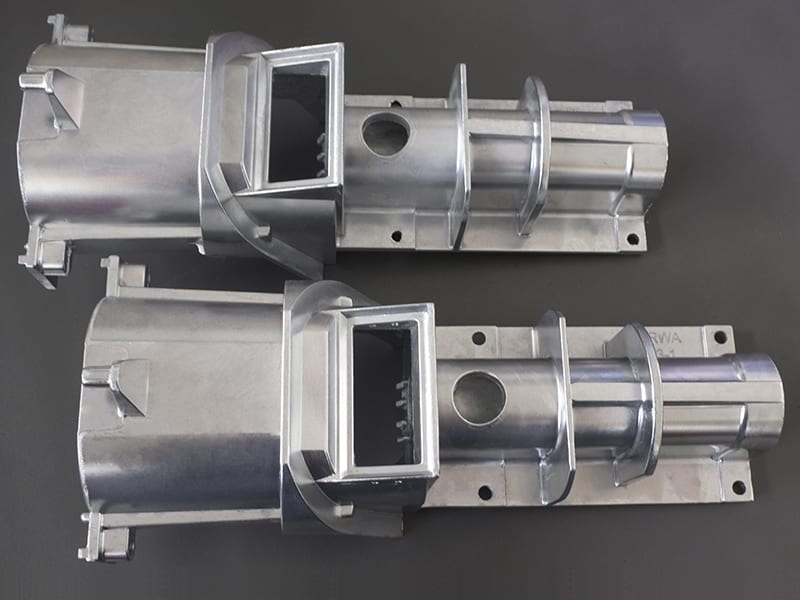
Prevent Media Inside the Part
External screening cannot remove media that is wedged inside a hole, thread, slot, or cavity. Lodging must be prevented by media selection and part-process design before separation begins. Check every orientation and include worn-media samples in the trial.
Use the dedicated guide How to Prevent Tumbling Media from Lodging in Holes, Slots, and Threads for wedging geometry, media-shape selection, and feature-level checks. Separation validation should then confirm that loose media and parts travel to the correct discharge after no lodged pieces remain.
Design the Trial Around the Worst Case
Measure every part variant and feature that can affect screening or lodging.
Measure a representative range of new, working, worn, and broken media.
Test the selected screen using the intended batch volume and wet process condition.
Repeat with the least favorable part orientation and highest approved bed depth.
Inspect separated parts, media discharge, screen surface, transfer points, and collection bins.
Count operator interventions and record the reason for each one.
Repeat after realistic media wear is represented.
Approve the system only after multiple batches meet the separation and quality requirements.
Common Separation Failures
Failure
Direction to Check
Parts leave with loose media
Increase effective screening opportunities, reduce bed depth, inspect opening geometry, and remove undersize media
Parts fall into the media return
Check the smallest part orientation, flexible dimensions, broken parts, and screen opening tolerance
Screen works only when lightly loaded
Review feed control, deck length, travel speed, motion, and external screening capacity
Separation gets worse over time
Inspect media wear, fragments, screen blinding, compound buildup, and changes in part mix
Parts are marked during discharge
Check impact points, drops, crowding, metal edges, part-on-part contact, and collection-bin design
Frequently Asked Questions
Should the part pass through the screen or should the media pass through?
Either arrangement can work. The safer direction depends on which material has the more consistent dimensional window, how each item travels across the screen, and how the two discharge paths integrate with the process. Validate both separation accuracy and part protection.
Can one screen handle several part models?
Only if every approved part and media condition maintains a reliable separation window. Mixed part families often introduce a smaller dimension, flexible feature, or nesting behavior that invalidates the original screen.
Is magnetic separation always suitable for steel media?
No. Confirm the magnetic response of the exact media and part alloys, including coatings and heat treatment. Also validate retained pins, residual magnetism, cleanliness, and whether magnetic collection creates another handling risk.
When is an external separator worth considering?
Consider it when the machine's internal deck does not provide enough area, time, adjustment, or staging for the required throughput. An external unit can also support multiple screens, fines removal, inspection, or integration with automated handling.
Related Equipment and Media
Vibratory Finishing Machines Rotary Barrel Tumbling Ceramic Media Plastic Media Steel Finishing Media
Plan Separation Before Approving the Finishing Recipe
Send representative parts, dimensional drawings, hole and slot sizes, media samples, target finish, batch quantity, and required handling rate. We can help compare media shapes, machine screening, and external separation directions using a controlled sample trial.
Request a separation trial →


 IPv6 network supported


 +86-592-2381506