• Polishing Process for Alloy Folding Knives: Achieving a Mirror Finish
    Polishing Process for Alloy Folding Knives: Achieving a Mirror Finish November 27, 2024
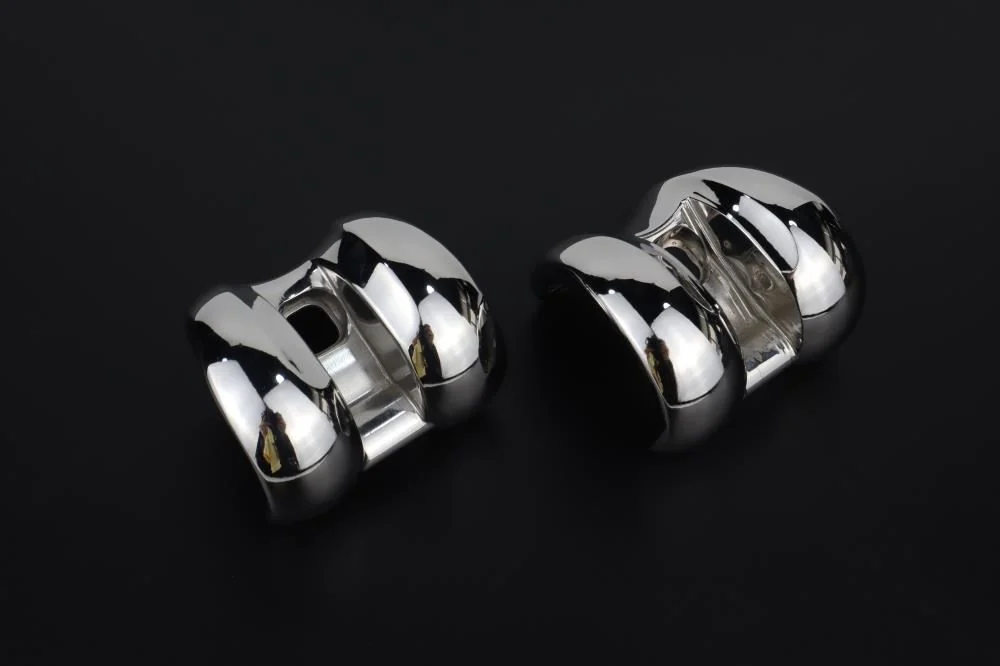
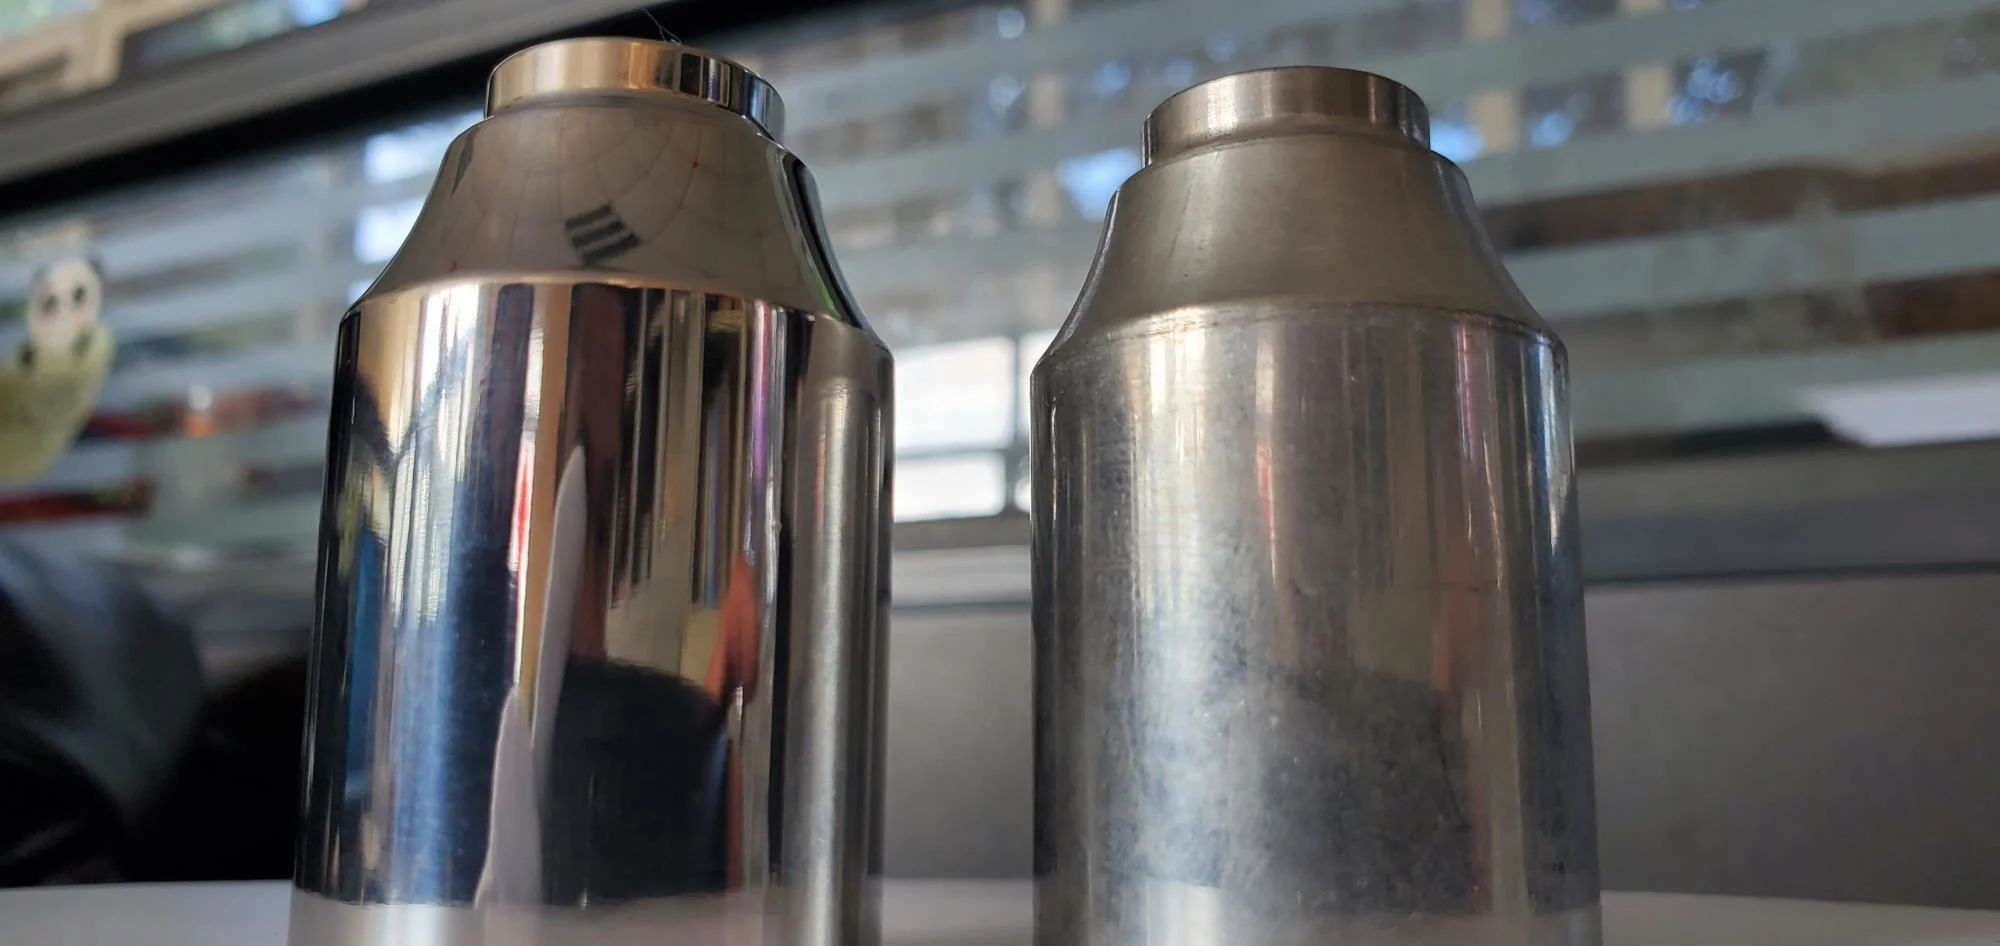
    In this article, we share the polishing process for alloy folding knives, highlighting how our advanced equipment transformed a rough, unpolished knife into a sleek, mirror-finished product. Learn how our approach makes these knives not only beautiful but also practical for everyday use. Folding knives are popular for their versatility and portability, and when it comes to alloy knives, they offer even greater durability and strength. In this article, we’re excited to share a recent polishing project involving alloy folding knives. The knife in question started off with a rough, unpolished surface, and by the end of our multi-step polishing process, it became a shining, mirror-finished masterpiece. 1. The Initial State: Preparing the Alloy Folding Knife The folding knife initially had a dull and uneven surface, typical of untreated alloy materials. The blade and handle had visible scratches and machining marks, which needed to be removed to reveal the true quality of the material underneath. To achieve a polished look, we started by preparing the knife with coarse polishing to eliminate these imperfections. 2. The Polishing Process: Step by Step To transform the rough alloy knife into a sleek, finished product, we followed a multi-step polishing process: Coarse Polishing: In this stage, we used coarse polishing to remove the major scratches and surface defects from the blade and handle. This step helps create a smoother base, making it easier for the next steps to achieve a refined finish. Intermediate Polishing: After the coarse polishing, we moved to an intermediate polish to further refine the surface. At this stage, we focused on reducing any minor scratches that were left over from the initial step. This helped prepare the knife for the final touch. Fine Polishing: Finally, we used a fine polishing compound to achieve the desired mirror finish. This step was crucial to give the knife its sleek, reflective surface that not only looks impressive but also adds a protective layer to the alloy. 3. The Result: A Stunning Mirror Finish The final result was a folding knife that had a flawless, mirror-like surface. The blade and handle were transformed from a rough, unfinished state to a beautiful, polished product that looked both elegant and professional. The polished alloy not only improved the appearance of the knife but also enhanced its durability by reducing the likelihood of corrosion and wear over time. 4. Benefits of Polishing Alloy Folding Knives Polishing alloy folding knives provides multiple benefits beyond just aesthetics: Improved Durability: The polished surface helps to protect the alloy from corrosion and wear, making the knife more resilient for long-term use. Enhanced User Experience: The smooth handle and blade provide a comfortable grip and a cleaner cut, making the knife more efficient and pleasant to use. Visual Appeal: A mirror finish adds a premium look to the knife, making it not only a functional tool but also a collector...
    View More
  • Polishing Process for Motorcycle Hand Levers: Achieving Precision and Shine
    Polishing Process for Motorcycle Hand Levers: Achieving Precision and Shine November 14, 2024
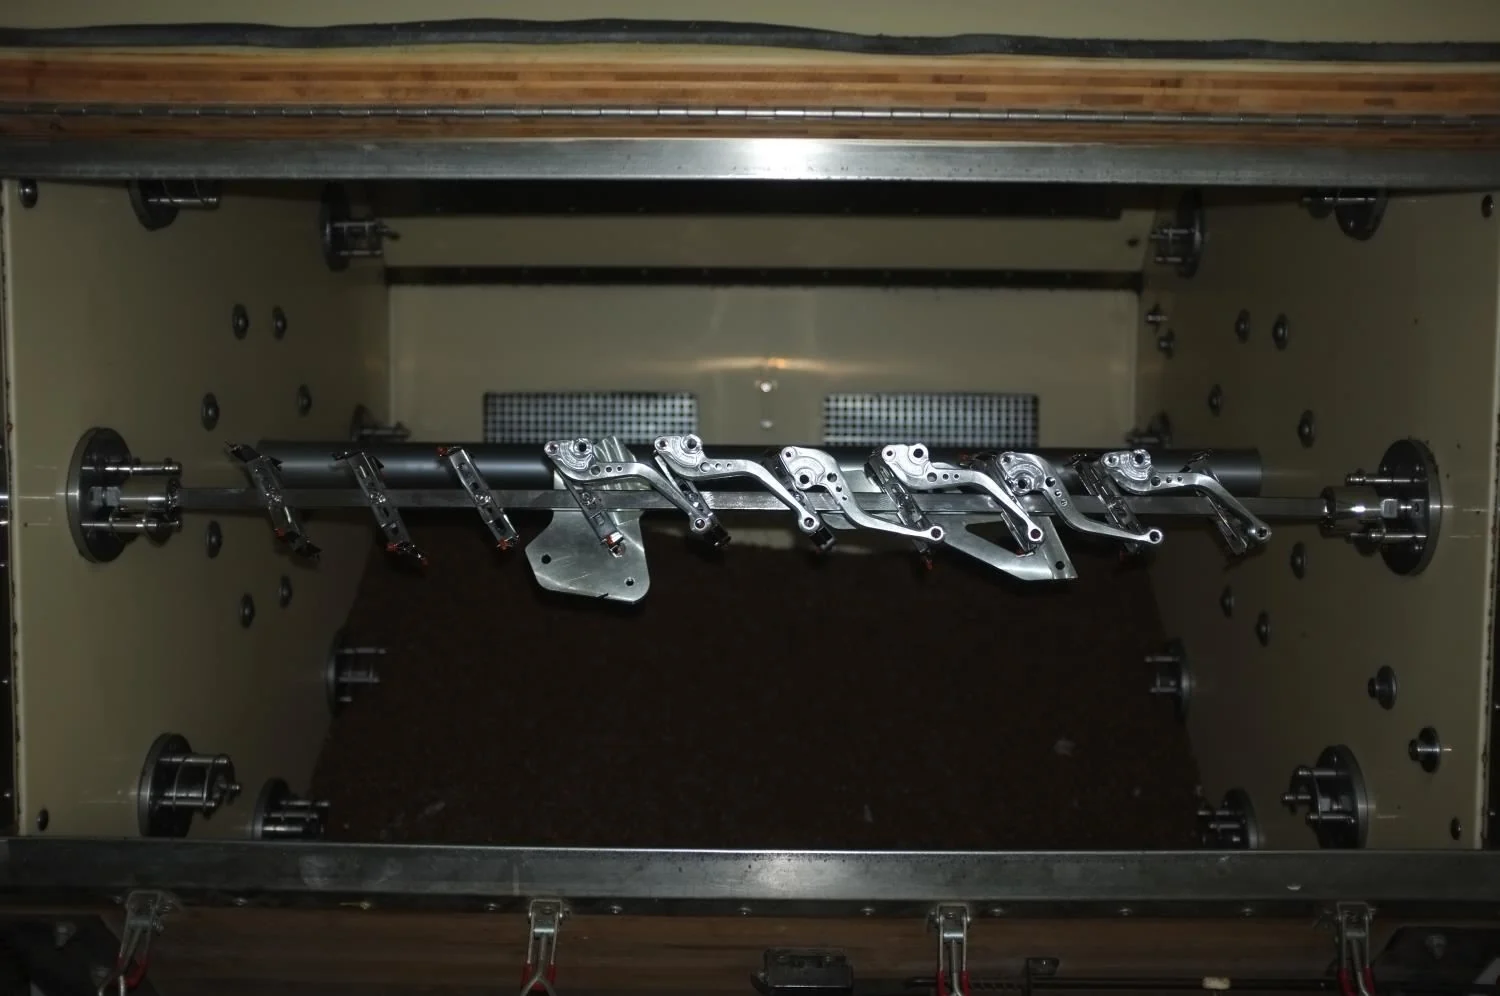
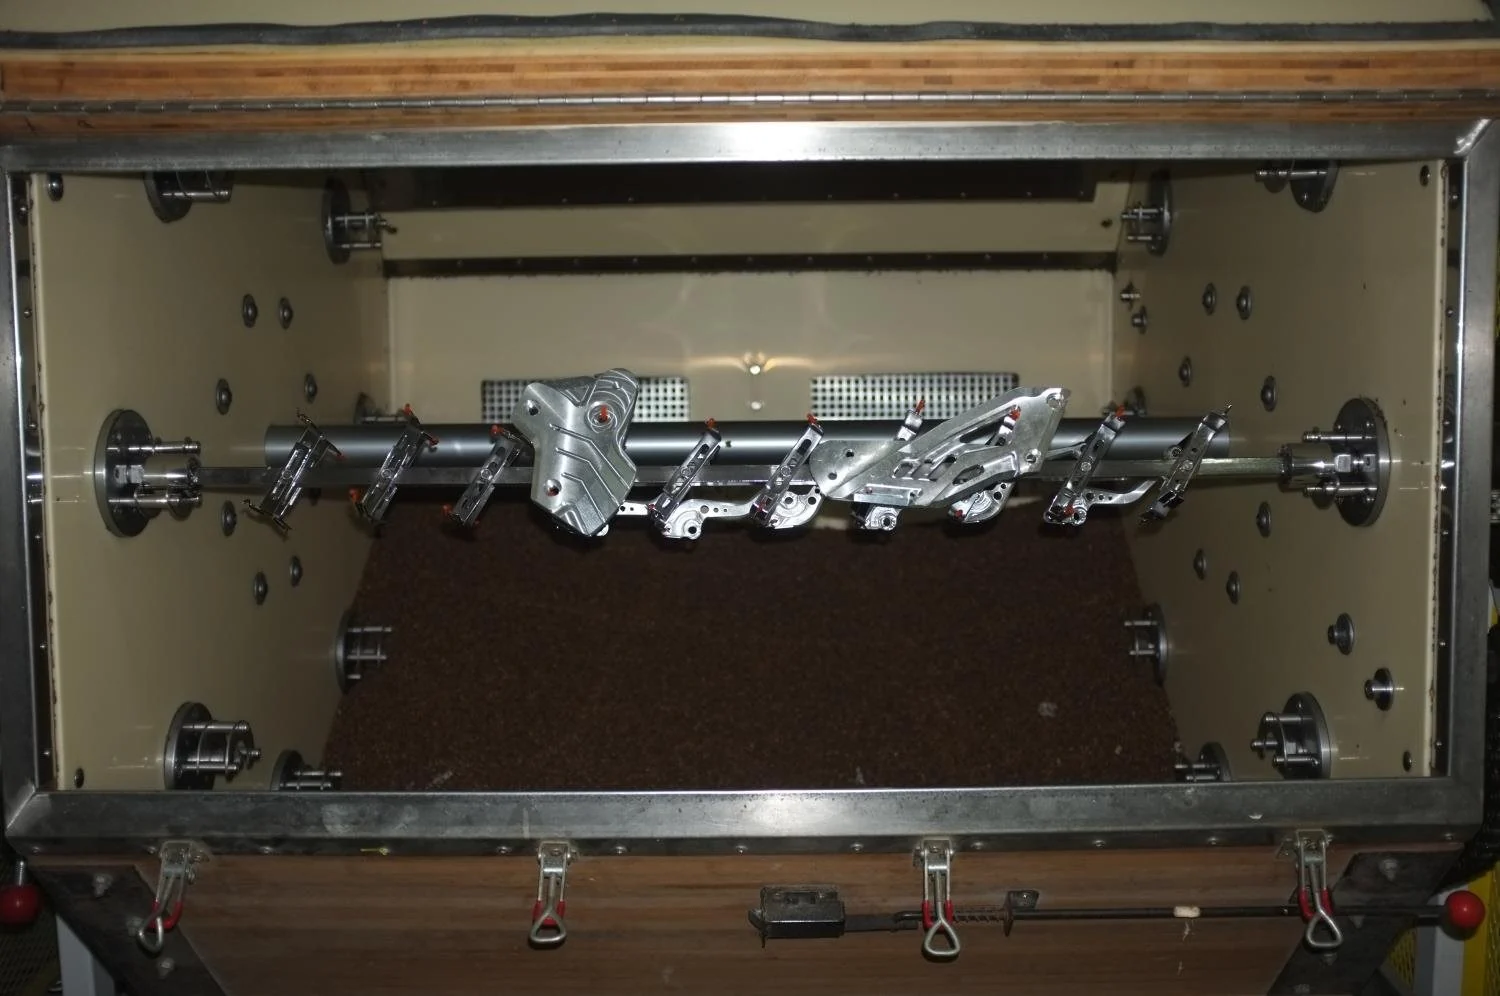
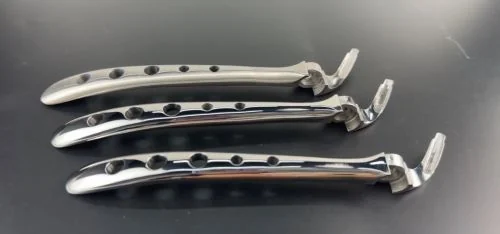
    Article Content: Motorcycle components, such as hand levers, are not just functional parts but also contribute significantly to the overall aesthetics of the bike. Achieving a polished, high-quality finish on these components can dramatically enhance both the appearance and the comfort of the rider. In this case study, we delve into the complete polishing process of motorcycle hand levers, illustrating the stages involved and the techniques employed to achieve an exceptional mirror finish. 1. Initial State: Preparing the Hand Levers for Polishing The process began with raw, rough hand levers that required extensive work to reach the desired quality. The initial state of the hand levers is characterized by an uneven surface with visible machining marks. These rough edges and imperfections need to be removed before we proceed to finer polishing. 2. Equipment Used in the Polishing Process To achieve the desired finish, we used multiple stages of polishing with specialized equipment. We utilized our rotary tumbling polishing machine, which allows for precise control over polishing parameters, ensuring that the entire surface of the hand lever is uniformly treated. The polishing process involved three main stages: Coarse Polishing: This step is focused on removing machining marks and surface irregularities, creating a smooth base for the next steps. Secondary Polishing: In this stage, we further refined the surface of the hand levers, eliminating any remaining minor scratches and preparing the levers for the final polish. Fine Polishing: Finally, a fine polishing step was carried out to achieve a mirror-like shine. This stage required the use of finer polishing compounds to bring out the high-gloss finish that distinguishes premium motorcycle components. 3. Achieving the Final High-Gloss Finish The fine polishing stage is where the true transformation occurs. By using high-quality polishing media and adjusting the machine settings to achieve optimal contact between the polishing media and the hand lever surface, we were able to bring out a deep, mirror-like finish that met the aesthetic standards required for motorcycle components. 4. Benefits of the Polishing Process The benefits of our polishing process extend beyond just aesthetics. By refining the surface of the hand levers, we also enhance their functionality: Improved Comfort: A smooth and polished hand lever ensures a comfortable grip for the rider, enhancing the overall riding experience. Increased Durability: Polishing helps to remove surface defects that could potentially develop into weak points over time, thus increasing the durability and lifespan of the component. Corrosion Resistance: By achieving a high-gloss finish, the hand levers are more resistant to corrosion, which is crucial for motorcycle components exposed to various environmental conditions. 5. Conclusion This polishing case study demonstrates the level of precision and expertise required to transform raw motorcycle hand leve...
    View More
  • Achieving Precision and Safety: Polishing Techniques for Medical Implants and Instruments - A Joint Case Study by JintaiJin and Medical Expert Chris
    Achieving Precision and Safety: Polishing Techniques for Medical Implants and Instruments - A Joint Case Study by JintaiJin and Medical Expert Chris November 13, 2024
    Article Content At JintaiJin, we take pride in our capability to deliver high-quality surface finishing solutions, especially for industries where precision is critical, such as the medical field. Today, I, Max, a polishing engineer at JintaiJin, am collaborating with Chris, an experienced professional in the medical device industry, to share a recent case involving the polishing of medical implants and surgical instruments. These components include spinal screws, bone plates, and connector chains, which all require impeccable surface quality to ensure safety and comfort for patients. 1. The Project: Polishing Medical Implants and Instruments Max: Our client, a manufacturer of medical implants, required a high-gloss finish on these orthopedic devices. The implants needed to have a mirror-like surface that was free from any imperfections, as these surfaces come into direct contact with human tissues. The importance of smooth surfaces for such implants cannot be overstated, as it helps in reducing tissue irritation, preventing bacterial adhesion, and ensuring easier insertion during surgeries. Chris: When I initially discussed the requirements with Max, we both knew that the challenge was not just about achieving a shiny finish—it was about meeting rigorous medical standards. I explained how critical it was to ensure biocompatibility and minimize any potential risks to patients. Max was very receptive, and we started brainstorming the best approach together. 2. Equipment Used for the Polishing Process Max: For this project, we utilized our state-of-the-art automatic tumbling polishing machine, which is well-suited for handling complex medical components. During our initial discussions, Chris emphasized the need for precision and consistency, which led us to select this machine. The features of our equipment that were particularly beneficial for this project include: - Precise Control: The machine’s ability to fine-tune polishing settings allowed us to achieve a consistent, mirror-like finish without causing damage to the intricate details of the implants. - Batch Processing Capability: Given the large number of components that needed polishing, our equipment’s batch processing capabilities were essential for delivering high-quality results within a reasonable timeframe. - Eco-Friendly Polishing Compounds: We used environmentally friendly polishing media and compounds to ensure the process was safe for both operators and the environment. Chris: I was particularly impressed by the eco-friendly approach that Max suggested. This was important to us, as we wanted to ensure not only the quality of the implants but also the safety of the production process for the operators and the environment. 3. Overcoming Challenges and Meeting Medical Standards Max: Polishing medical implants presents unique challenges, primarily due to the strict standards required for surface quality and safety. Aluminum and stainless steel implants are prone to scratches if not han...
    View More
  • Polishing Machine Troubleshooting: Vibration, Noise, Overheating, Drainage, and Wear
    Polishing Machine Troubleshooting: Vibration, Noise, Overheating, Drainage, and Wear November 12, 2024
    Equipment Troubleshooting Guide Polishing Machine Troubleshooting: Vibration, Noise, Overheating, Drainage, and Wear When a mass finishing machine changes sound, movement, temperature, or flow, adjusting the polishing recipe first can hide the real fault. This guide separates machine problems from process problems and gives operators a practical inspection sequence for vibratory, barrel, and centrifugal equipment. A polishing machine rarely fails without warning. A new rattle, slower media circulation, rising motor current, poor drainage, or uneven separation often appears before a complete stop. The safest and fastest response is to record what changed, stop the machine when required, and inspect the mechanical and process systems in a fixed order. Safety first: Isolate electrical, pneumatic, and fluid energy before opening guards or touching moving parts. Follow the machine manual and your facility lockout/tagout procedure. Never bypass a guard, interlock, overload device, or emergency stop to continue production. If the machine is under warranty, confirm the permitted inspection scope with the supplier. First decide: machine fault or process fault? A machine fault changes the equipment itself: its sound, movement, temperature, current, fluid flow, or ability to start and stop. A process fault mainly changes the parts: scratches, dents, residue, poor brightness, edge rounding, or an inconsistent finish. The two can be connected, but they should not be diagnosed as if they were the same problem. If the machine runs normally but parts show scratches, residue, impact marks, or uneven results, use our separate vibratory finishing defect troubleshooting guide. If the machine itself sounds, moves, drains, separates, or heats differently, continue with the equipment checks below. Observed symptom Check first Possible direction Machine moves or vibration becomes stronger Anchors, feet, springs, load distribution Loose mounting, damaged spring, uneven or excessive load New rattling, knocking, or grinding sound Loose hardware, screen, cover, drive and bearings Contact between parts, worn drive component, bearing damage Motor or drive temperature rises Load, ventilation, current, belt tension, lubrication Overload, restricted cooling, incorrect tension, friction Weak or irregular media flow Load ratio, springs, drive settings, liner condition Incorrect load, changed amplitude, worn support or liner Slow drainage or excess foam Drain screen, port, hose, water and compound feed Blockage, kinked hose, excessive compound, contaminated bath Parts do not separate reliably Screen opening, wear, gate and media size Wrong size relationship, damaged screen, unstable flow A repeatable diagnostic sequence Record the change. Note the time, product, media, load weight or volume, compound setting, cycle stage, sound, motor current, temperature, and any alarm. A short video can help a supplier compare motion and noise. Compare with the last known good run. Ask what chang...
    View More
  • Handcrafted Polishing Techniques for Aluminum Products: A Case Study
    Aluminum Product Polishing Techniques: Handcrafted Insights from JintaiJin November 12, 2024
    Discover JintaiJin's approach to polishing aluminum products with advanced equipment,batch processing techniques,and a focus on overcoming customer challenges. Get practical,real-world insights into achieving the perfect finish.
    View More
  • Case Study: Achieving Perfect Polishes for Key Rings with Advanced Tumbling Equipment
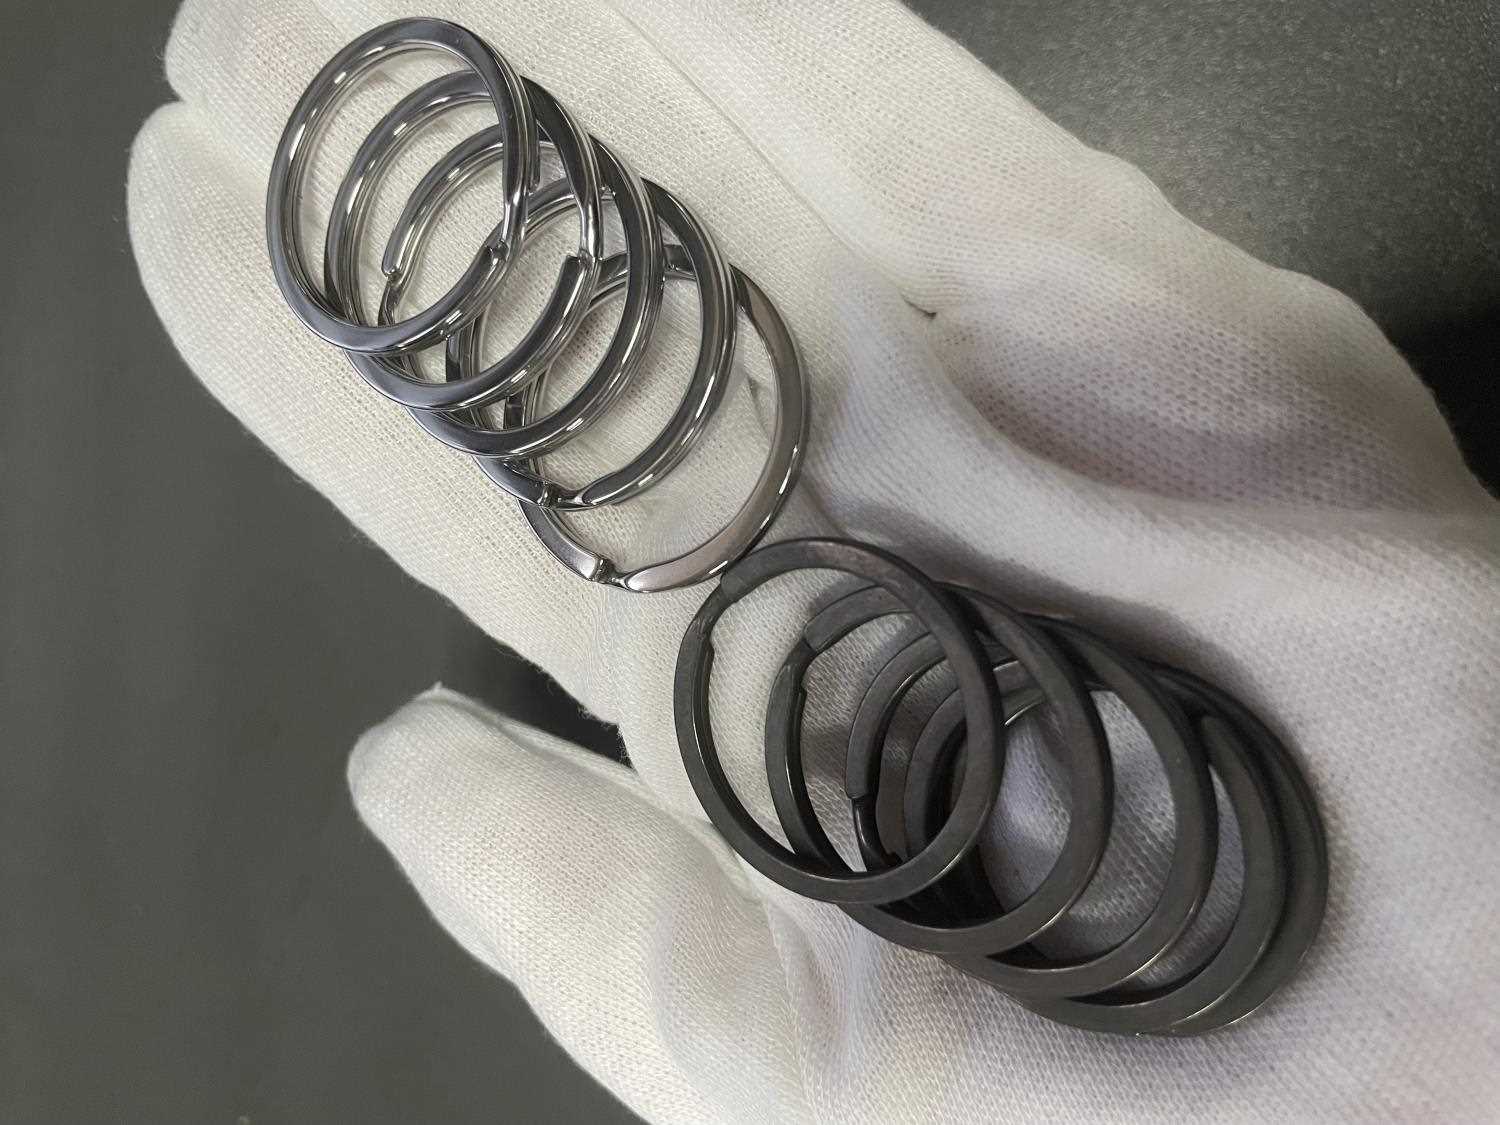
    Case Study on Key Ring Polishing Using Advanced Tumbling Equipment November 11, 2024
    Read this case study to discover how JintaiJin's automated tumbling equipment achieved flawless key ring polishing,overcame customer challenges,and demonstrated batch processing benefits.
    View More
  • Technical Guide to Surface Rust Removal and Precision Polishing for Saxophones
    Technical Guide to Surface Rust Removal and Precision Polishing for Saxophones Nov 05 , 2024
    Technical Guide to Surface Rust Removal and Precision Polishing for Saxophones By Max, Technical Engineer at JintaiJin As a technical engineer at JintaiJin, I’d like to share insights into the meticulous process we use to restore saxophone components to a bright, refined finish. The saxophone, with its intricate arrangement of brass parts and precise structure, requires specific techniques for effective rust removal and polishing. At our workshop, we utilize advanced polishing equipment to ensure a smooth, brilliant result. Step 1: Initial Assessment of Parts Before starting, we thoroughly inspect all saxophone components. This includes disassembling the saxophone into its various parts, such as keys, levers, rods, and the main body, as shown in the images above. Each part is examined for rust, tarnish, and surface impurities, allowing us to determine the degree of treatment required. The goal is to identify areas with severe oxidation or deep scratches that might require more intensive grinding. Step 2: Pre-Cleaning and Degreasing Once disassembled, all parts undergo a pre-cleaning phase to remove grease, dirt, and loose particles. For this, we typically use an ultrasonic cleaner with a mild detergent solution. The ultrasonic waves help lift dirt from hard-to-reach areas, ensuring that all surfaces are free from contaminants before the main polishing process. After cleaning, each part is rinsed with distilled water and dried thoroughly to prevent new rust formation. Step 3: Rust Removal with Coarse Abrasive Grinding For parts that exhibit heavy rust, we start with coarse abrasive grinding. We use specialized abrasive wheels or grinding belts from our store, designed to remove the surface layer of oxidation without damaging the underlying brass. This coarse grind is crucial for parts with pitting, as it smooths the surface to prepare it for fine polishing. Equipment Used: For this stage, we recommend a vibratory deburring machine or a belt sander with coarse-grit abrasive belts, available in our 'Products' section. The abrasive material should be suitable for brass to prevent any unnecessary wear on the saxophone parts. Step 4: Precision Fine Grinding Following coarse grinding, we move to a fine grinding stage, using a higher grit abrasive for a more delicate polish. This step focuses on reducing any scratches left from the previous phase and refining the overall surface. The objective here is to achieve a smooth base that will allow for a high gloss during the final polish. Equipment Used: We switch to a finer abrasive wheel or sandpaper in the range of 600-800 grit. For small or intricate parts, we may use handheld rotary tools to access tight spaces, ensuring all parts are uniformly treated. Step 5: Intermediate Polishing with Polishing Compounds At this point, we use a polishing compound that is slightly abrasive to further refine the surface. This compound helps to remove micro-scratches left by the fine grinding stage and gives the brass a slight shine. The intermediate polish prepares the surface for the final high-gloss finish. Equipment Used: We use a bench polisher with a felt or cotton polishing wheel, applying the compound lightly across each part. This process may require multiple rounds of polishing to achieve an even pre-polish on all components. Step 6: Final Polishing for Mirror Finish For the final step, we use a non-abrasive polishing compound to achieve a mirror-like finish. This stage is where the saxophone's brass parts get their professional shine, making them look as good as new. We carefully apply the polishing compound with a high-speed polisher, focusing on ensuring that the finish is consistent across all surfaces. Equipment Used: A high-speed buffing wheel or rotary polisher, fitted with a soft polishing pad, is ideal for this step. We use premium polishing compounds specifically designed for brass, as listed in our store’s 'Products' section, to ensure a flawless shine. Step 7: Assembly and Final Inspection After polishing, each part is meticulously cleaned to remove any leftover polishing residues, ensuring there are no abrasive particles that could cause damage over time. We then reassemble the saxophone, carefully fitting each part back into place. Once assembled, we perform a final inspection to check for uniformity in the finish, smoothness in the action of keys, and overall aesthetic quality. Optional Step: Protective Coating Application To preserve the polish and protect the saxophone from future oxidation, we recommend applying a clear lacquer or a thin layer of protective wax to the brass. This optional coating acts as a barrier against moisture, preventing tarnish and extending the life of the polished surface. Equipment Used: A spray gun can be used for applying a lacquer finish, or a soft cloth can be used for wax application. Conclusion The process of rust removal and polishing for saxophones involves multiple stages, each requiring precision and care. By following these steps with the right equipment from our store, musicians and collectors alike can restore the shine and functionality of their saxophones. For a professional-quality finish, it’s essential to use specialized tools and compounds, as described, to bring out the natural beauty of brass. For further details on each step or to inquire about specific equipment for saxophone polishing, feel free to visit our website's 'Products' section or contact us directly.
  • How to Efficiently Polish Metal Jewelry in Bulk | Discover Automated Polishing Solutions
    How to Efficiently Polish Metal Jewelry in Bulk | Discover Automated Polishing Solutions Oct 22 , 2024
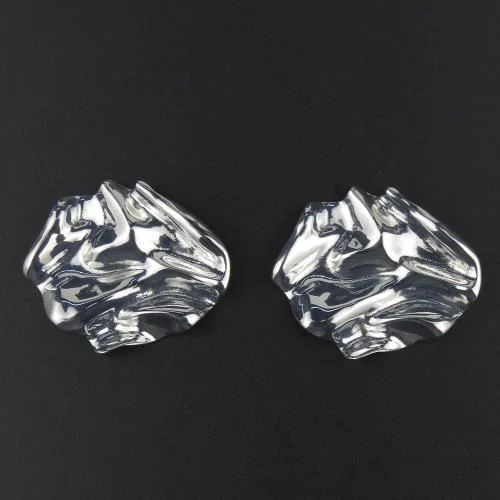
    Hello, I’m Max, a technical engineer at JintaiJin. Today, I’m going to share a simple yet powerful solution for polishing aluminum alloy jewelry in bulk. Imagine spending hours polishing individual pieces by hand, trying to perfect every small detail, only to fall behind schedule. Now picture a fully automated machine doing the same task for you with greater speed, accuracy, and consistency. Our client from India was in a similar situation, but thanks to our polishing equipment, we managed to transform their production process, delivering both satisfaction and cost savings. The Client’s Initial Concerns: Time and Quality When our Indian client first reached out to us, they were concerned about the quality of their aluminum alloy jewelry after polishing. Their traditional hand-polishing methods weren’t delivering the high-shine finish they needed. On top of that, it was taking too long to polish even a small batch. Every detail mattered to their customers, especially the fine, polished surfaces that reflect light beautifully. It became clear that the problem wasn’t the craftsmanship; it was the lack of modern equipment. This is where our fully automated polishing solution came into play. They wanted to see if we could deliver the polished look they were aiming for without increasing production costs—and we were more than ready to prove it. Polishing Aluminum Jewelry: The Precision of Our Equipment Polishing aluminum alloy jewelry requires a keen eye for detail. Each piece undergoes multiple polishing stages, from rough polishing to fine finishing, to achieve a mirror-like sheen. Our machines are designed to replicate that hand-polished look, but with greater efficiency. For example, the **Heart-Shaped Pendant Earrings** our client needed polished went through several stages: 1. Initial Rough Polishing: This removes any surface imperfections, scratches, or casting lines. 2. Intermediate Polishing: Using finer polishing materials, the pieces are smoothed out, refining the texture. 3. Final High-Gloss Finishing: A buffing stage that brings out the brilliant shine, leaving the surface smooth and reflective. *Placeholder for Image: Add your polished sample images here to show the difference between each polishing stage.* Creating a Vivid Polishing Experience Imagine walking into a workshop, hearing the hum of advanced polishing machines at work, and seeing trays of freshly polished jewelry pieces shining under the overhead lights. There’s no need for a jeweler to spend hours bent over a workbench. Instead, the machines are hard at work, giving every piece—from the **Textured Disc Earrings** to the **Twist Band Ring**—a perfect mirror-like shine. With every batch that runs through the machine, time is saved, and the consistent results speak for themselves. Our equipment doesn’t just make the process faster; it makes it better. Why Automation is the Future of Jewelry Polishing 1. Mass Production Made Easy: We polished more than 100 pieces of jewelry in one session for our Indian client. This would have taken days by hand, but with our machines, it was done in just a few hours. 2. Quality Without Compromise: Every piece came out polished to perfection, whether it was a simple design like the **Classic Hoop Earrings** or a more complex one like the **Crinkled Texture Earrings**. 3. Reduced Costs, Higher Output: By cutting down on manual labor, our client was able to save on production costs and meet their deadlines with ease. Your Next Steps If you’re facing the same polishing challenges—whether you need to polish a small sample batch or mass-produce high-quality metal jewelry—our fully automated polishing solutions can make all the difference. Don’t let time and cost hold you back from delivering stunning, polished jewelry to your customers. For more information, or to get a personalized solution for your business, feel free to contact us.
  • Case Study: Polishing High-Quality Medical Dental Pliers with Advanced Technology
    Case Study: Polishing High-Quality Medical Dental Pliers with Advanced Technology July 23, 2024
    Discover how Jintaijin Polishing Technology uses advanced dry hanging tool drum grinder to achieve high-quality polishing of medical dental pliers with a surface roughness of Ra0.4,enhancing product quality and customer satisfaction.
    View More

#+86-592-2381506

Email : info@surface-polish.com

Headquarters address : No. 31, Xinchang Road, Xinyang Industrial Zone, Haicang District, Xiamen

click here to leave a message

Leave A Message
If you are interested in our products and want to know more details,please leave a message here,we will reply you as soon as we can.

Preparing secure enquiry form…

Home

Products

whatsapp

contact