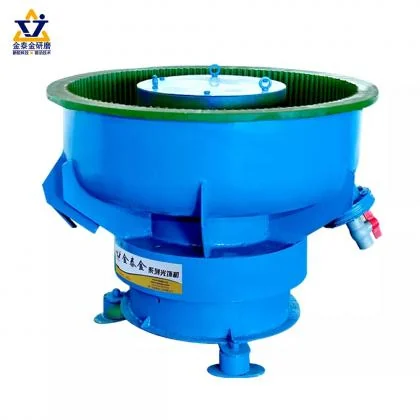
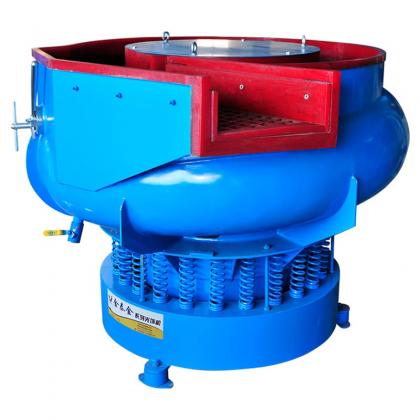
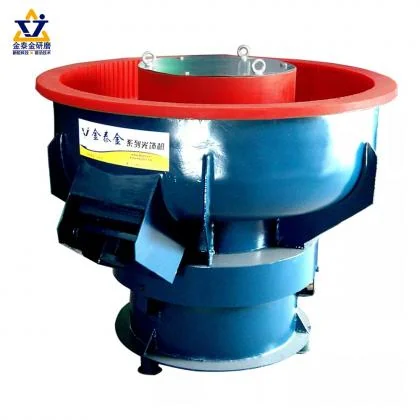
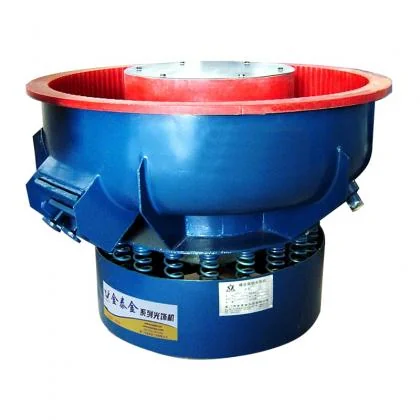
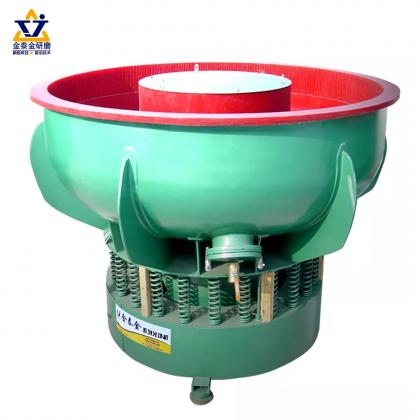

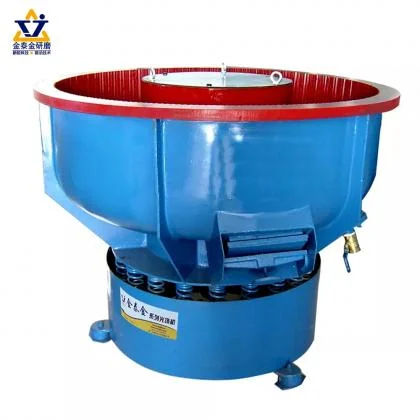
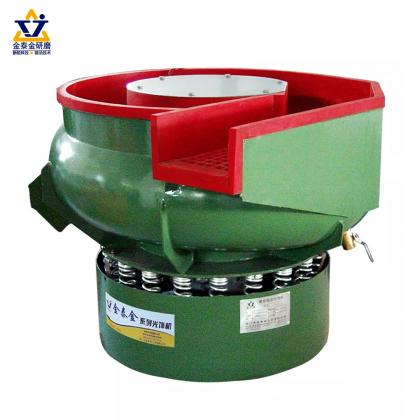
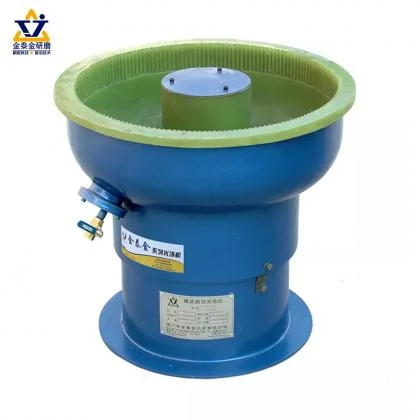
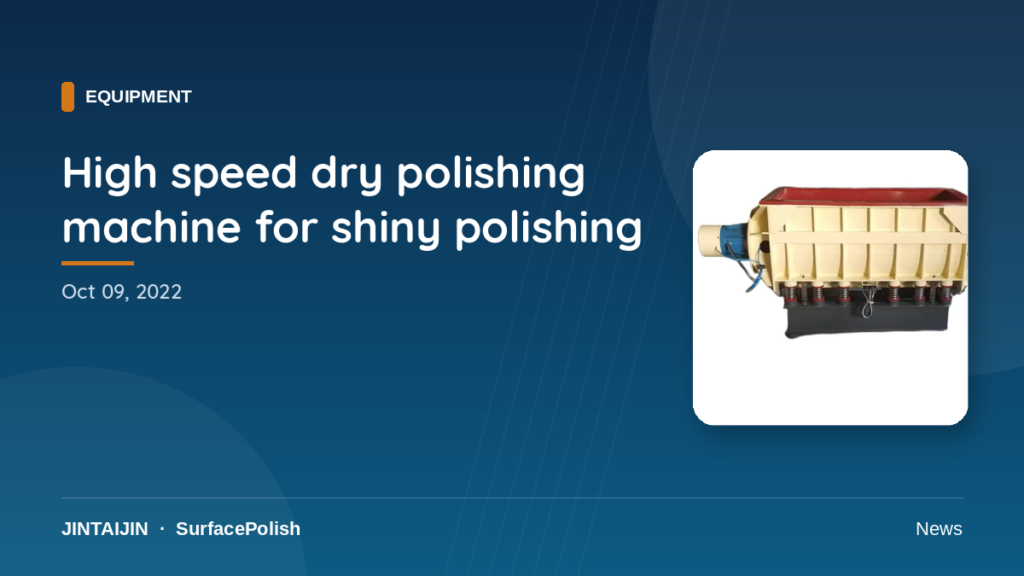
This video is a visual reference for dry polishing equipment used in a shiny-finishing discussion. It can help a buyer frame the process questions around part material, media contact, dust handling and the appearance that must be accepted.
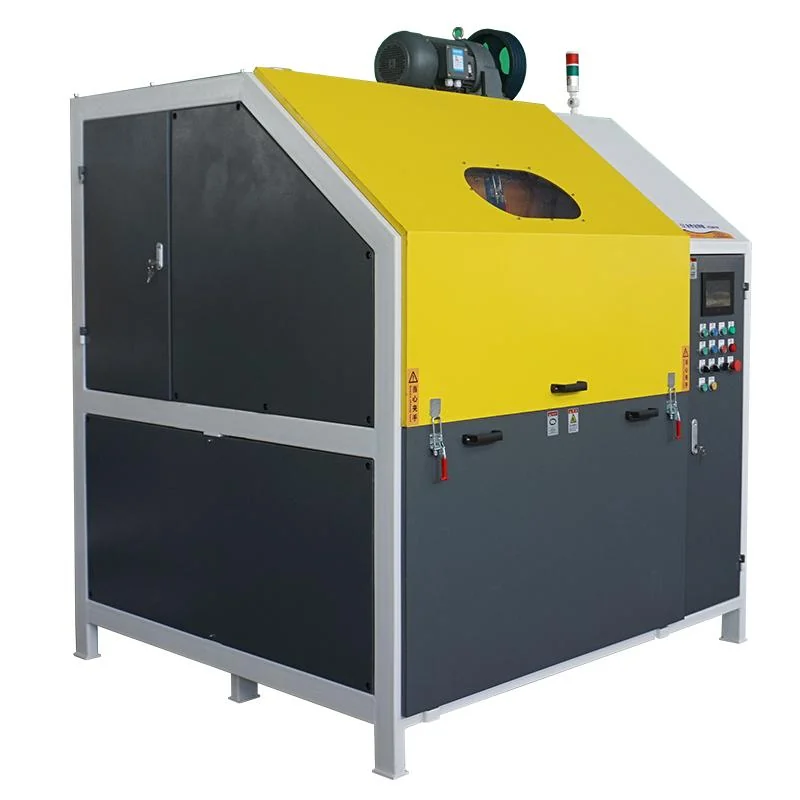
What to review while watching
- whether the part can move through a dry process without nesting or damage
- which edges, recesses and cosmetic faces require protection
- how dry media, loading and cycle control should be compared
- how the accepted appearance and cleaning requirement will be checked
Prepare a useful inquiry
Send the material, dimensions, approximate weight, quantity, current surface condition, target appearance and protected features. Add clear photographs and a drawing when available. If a trial is appropriate, agree the representative parts and inspection method before shipment.
Evidence boundary
The title does not establish a guaranteed speed, gloss level, cycle time or material compatibility. A representative trial and an agreed inspection method are needed before making a production decision.
Discuss your workpiece
| Consideration | What it affects | Direction to test |
|---|---|---|
| Dry media choice | Whether a gloss or a matte surface is produced | Walnut shell or corn cob depending on the target sheen |
| Compound quantity | Whether the media works or clumps | Apply sparingly and adjust by observation |
| Dust generation | Workshop conditions and media life | Extraction and housekeeping as part of the process |
| Cycle time | How much surface is worked | Establish on a sample rather than by extending the cycle |
| Heat on the part | Whether the surface scorches or marks | Keep contact short and monitor the part |
| Media condition | Whether the action stays consistent | Check and top up at a regular interval |
Directions to test on a representative sample, not validated results for a specific component.
What makes dry polishing different
Dry polishing uses media that carries the abrasive action without water: walnut shell, corn cob and similar materials, usually with a dry compound applied sparingly. Removing water changes three things. The part is never wetted, so materials that absorb moisture or corrode can be processed. The process leaves no slurry to handle or dispose of. And the surface that results is typically a warm satin or a soft sheen rather than the wet-look gloss that a wet process produces.
Because there is no water to carry heat and fines away, the working area has to be managed differently. Dust is generated by both the media and the part, so extraction and housekeeping are part of the process. Media also loads with fines more quickly than in a wet process, which means the action falls off over time and the charge needs checking at a regular interval.
Getting a consistent dry finish
The most common mistake in dry polishing is applying too much compound. Compound is what carries the polishing action and holds the fine abrasive against the part, but excess compound makes the media clump, and clumped media stops moving and stops polishing. The right quantity is set by watching the charge: media should stay free-flowing and should not build up into lumps.
Cycle time is established on a sample, in the same way as a wet process. Longer does not automatically mean brighter — past a certain point the media has done the work it can do, and additional time only wastes media. What matters more is the starting condition: a surface with visible machining marks will not become a mirror in a dry polishing stage, because dry media works the surface far more gently than a cutting stage removes material.
 +86-592-2381506


 IPv6 network supported