Jintaijin Polishing Company: Delivering Comprehensive Polishing Solutions for David's Medical Device Products
Jun 07 , 2023
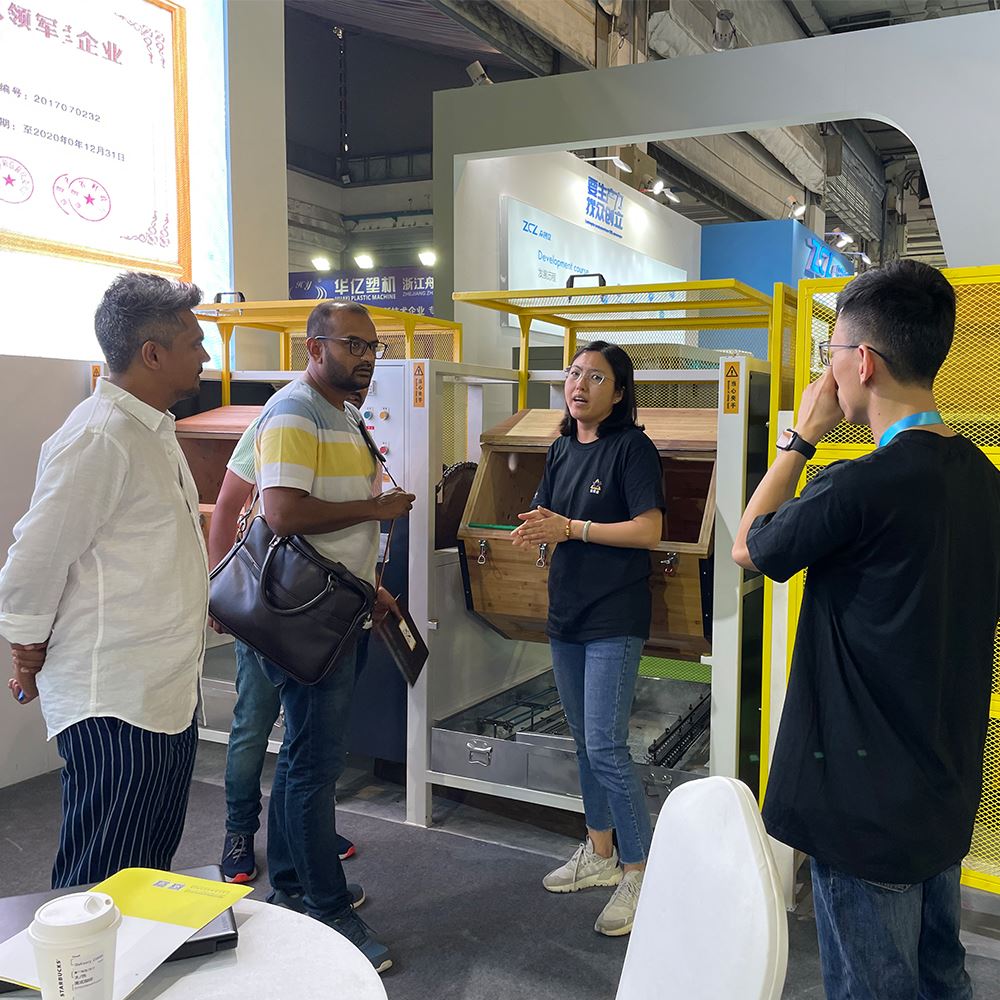
Jintaijin Polishing Company takes immense pride in providing top-notch polishing solutions to clients worldwide. We recently had the privilege of assisting our esteemed client, David, from India, in addressing his polishing requirements for his medical device products. Through our dedicated efforts and commitment to excellence, we successfully collaborated with David and procured dozens of polishing machines. Today marks an important milestone as David's machines are being transported to the port for delivery to his country. In this article, we will explore how we assisted David in his product polishing journey and discuss the services we offer to help clients address a wide range of polishing needs, ranging from civilian to military to commercial applications.
Polishing Solutions for David's Medical Device Products:
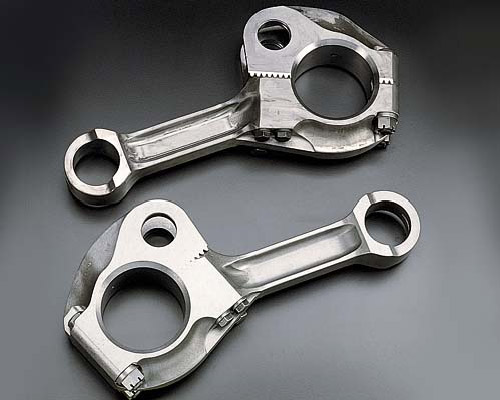
David approached Jintaijin Polishing Company seeking a reliable and efficient polishing solution for his metal medical device products. Understanding the criticality of medical equipment and the importance of precision in their manufacturing, we implemented a tailored polishing process to meet David's specific requirements.
Customized Polishing Techniques:
Our team of experienced professionals analyzed the unique characteristics of David's medical device products and devised a specialized polishing technique. This technique accounted for the composition of the metals used, the desired surface finish, and the need for cleanliness and hygiene in medical applications. By utilizing state-of-the-art equipment and cutting-edge polishing methods, we ensured that David's products achieved the highest level of quality and met the industry's stringent standards.
Quality Assurance:
At Jintaijin Polishing Company, quality is of paramount importance. To guarantee that David's medical device products underwent thorough and meticulous polishing, we implemented stringent quality control measures at every stage of the process. Our dedicated quality assurance team conducted rigorous inspections, adhering to international standards, to ensure that the final products were flawless and met David's exact specifications.
Services Provided to Clients:
Apart from assisting David with his medical device products, Jintaijin Polishing Company offers a wide range of services to cater to diverse polishing requirements for various industries.
Comprehensive Polishing Solutions:
We provide end-to-end polishing solutions, encompassing the entire process from initial assessment to final inspection. Our team collaborates closely with clients to understand their unique needs and develop a tailored approach to achieve the desired polishing results. Whether it is removing imperfections, enhancing aesthetics, or improving functionality, we offer comprehensive solutions to cater to a broad range of products.
Diverse Industry Support:
Jintaijin Polishing Company serves clients across multiple sectors, including civilian, military, and commercial industries. From household items and automotive components to aerospace parts and defense equipment, our expertise extends to a diverse range of products. We possess the knowledge, experience, and resources to handle various materials, shapes, and sizes, ensuring exceptional polishing results for each application.
Technical Consultation:
As a customer-centric organization, we go beyond providing polishing services. We offer technical consultation to our clients, guiding them through the polishing process and suggesting optimal solutions. Our team of experts is well-versed in industry best practices, emerging trends, and advanced polishing technologies. Through collaboration and knowledge sharing, we strive to empower our clients and help them make informed decisions regarding their polishing requirements.
Conclusion:
Jintaijin Polishing Company takes immense pride in being a trusted partner for clients like David, providing them with top-quality polishing solutions. Our collaboration with David in addressing his medical device product polishing needs demonstrates our commitment to excellence, meticulous attention to detail, and customer satisfaction. With our comprehensive polishing services a
nd diverse industry support, we are dedicated to helping clients across various sectors achieve exceptional results. As we prepare to ship David's machines, we eagerly anticipate the continuation of our successful partnership and the opportunity to assist more
"I am extremely satisfied with the services provided by Jintaijin Polishing Company. They have delivered exceptional solutions for polishing my products. As a manufacturer of metal medical devices, I place great importance on product quality and surface finish. Jintaijin's professional team conducted a thorough analysis of my products and developed a customized polishing process according to my requirements. They utilized advanced equipment and innovative polishing techniques, ensuring that my products met the highest quality standards and complied with the industry's stringent requirements.
Jintaijin Polishing Company prioritizes quality control throughout the entire process. Their dedicated quality assurance team conducted rigorous inspections to ensure that the final products were flawless and met my precise specifications. I am impressed by their expertise and meticulous work ethic.
In addition to their excellent polishing services, Jintaijin Polishing Company offers comprehensive solutions and technical consultation. They collaborated closely with me, understanding my needs and providing personalized advice and guidance. They are not just a polishing service provider; they are my partners. Their expert team is well-versed in industry best practices and advanced polishing technologies, empowering me to make informed decisions.
Overall, I am highly satisfied with the services of Jintaijin Polishing Company. They not only met my requirements but exceeded my expectations. I sincerely appreciate their outstanding service and look forward to continuing our successful partnership. I would not hesitate to recommend Jintaijin Polishing Company to anyone seeking high-quality polishing solutions."
"I am extremely satisfied with the services provided by Jintaijin Polishing Company. They have delivered exceptional solutions for polishing my products. As a manufacturer of metal medical devices, I place great importance on product quality and surface finish. Jintaijin's professional team conducted a thorough analysis of my products and developed a customized polishing process according to my requirements. They utilized advanced equipment and innovative polishing techniques, ensuring that my products met the highest quality standards and complied with the industry's stringent requirements.
Jintaijin Polishing Company prioritizes quality control throughout the entire process. Their dedicated quality assurance team conducted rigorous inspections to ensure that the final products were flawless and met my precise specifications. I am impressed by their expertise and meticulous work ethic.
In addition to their excellent polishing services, Jintaijin Polishing Company offers comprehensive solutions and technical consultation. They collaborated closely with me, understanding my needs and providing personalized advice and guidance. They are not just a polishing service provider; they are my partners. Their expert team is well-versed in industry best practices and advanced polishing technologies, empowering me to make informed decisions.
Overall, I am highly satisfied with the services of Jintaijin Polishing Company. They not only met my requirements but exceeded my expectations. I sincerely appreciate their outstanding service and look forward to continuing our successful partnership. I would not hesitate to recommend Jintaijin Polishing Company to anyone seeking high-quality polishing solutions."
VIEW MORE
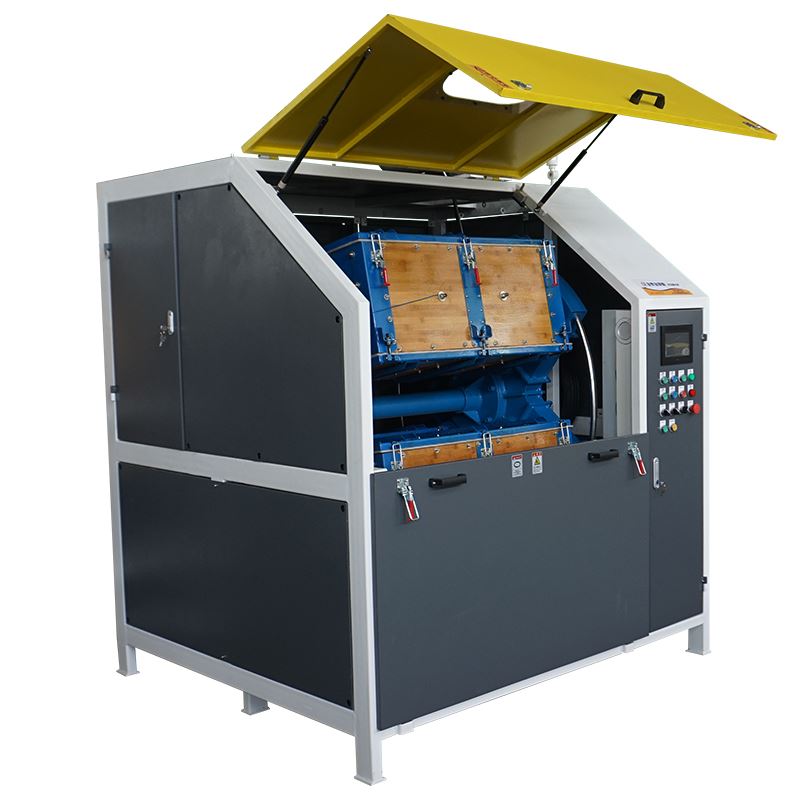
Auto PLC Industrial Rotary Buffing Tumbler Deburring Surface Finishing Automatic Grinding Machine
Auto PLC barrel rotary buffing tumbler deburring surface finishing grinding machine,polishing for rough and fine


 IPv6 network supported


 +86-592-2381506